So you’re probably wondering why we keep coming back to Arizona. That’s because it is beautiful in so many ways and legit has endless activities to do and places to explore. For example, this week we’ve been hiking a lot, backpacking and rejuvenating at our fave hotel, but I want to talk right now about the hike down into Havasupai Falls Campground. It wasn’t as brutal down as I had anticipated, but going up was WAY MORE work than I’d have liked it to be. However, I’m going to walk through each step of the trip this time in order, so if you want to repeat our process you’ll have the perfect blueprint to do so! While this post will highlight the trail into the canyon, make sure you stick around to hear more about what we did when we got there and how our day back out went as well. Let’s get into it!
Why We Woke Up at 4:30 AM in Seligman for Havasupai Falls
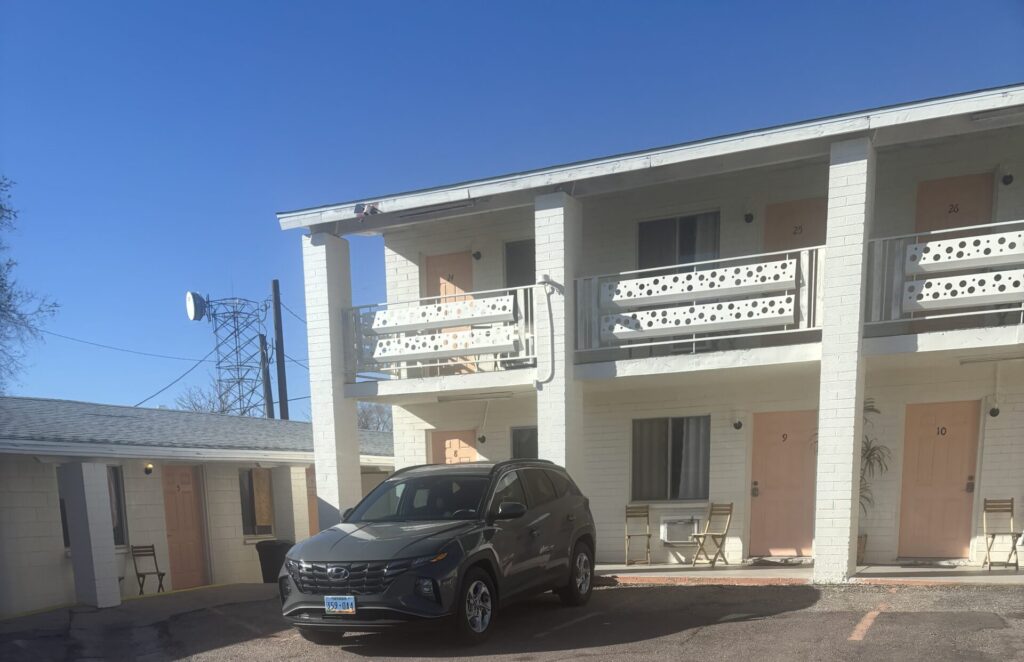
When we started out from Seligman, (which you can refer to the specifics here!), we made sure to set our alarm (which I absolutely loatheee doing on vacations, although certain situations such as these make it necessary). We got up around 4:30am, headed out around 5am, and got to the trailhead around 6:30am. If I could do it again though, I would have started a wee bit earlier around 3:30am so that we could have started the trail when it began getting light out.
I’m always hesitant to sacrifice sleep on these trips, so we try to be in bed by around dark at latest, often making that about the 8:30pm mark. But since we weren’t doing much in this town, I think we could have hit the hay an hour earlier to be up earlier as well. I’d mentioned we started to pack our backpacks at the previous tiny home that we rented but that didn’t include last minute items such as snack purchases or bathroom products. We also made sure our outfits were ready, filled the water bladders, and packed our luggage into the rental car, so that in the morning all we had to do was hit the road. (Next time, I’m making sure I leave an outfit for after the hike easily accessible so I’m not rummaging through our luggage in the parking lot!)
Although we left early, we noticed a lot of peeps ahead of us on the road out to the campground, as well as a handful turning out of Grand Canyon Caverns & Inn, that we tried to book before the boutique hotel in Seligman but it was already full! I do believe they offer cavern tours as well but they may still be on pause if you want to check them out if you’re ever headed west!
Why We Woke Up at 4:30 AM in Seligman for Havasupai Falls
Watch Out For Cows and Elk
As we made our way into the vast nothingness of the one road (Indian Route 18) leading to the campground trailhead, we noticed several cows and elk grazing on the sides of the road. Make sure you keep a lookout for these guys and practice the speed limit so they have a chance to know you’re coming! Not to mention if you break down out there, it may be a long while before you’re able to get service or assistance. Check out the beautiful view of Humphrey’s Peak as well on that road! If you’re up for an exhilarating day hike, check out this post to learn all about our experience hiking the mountain!
Once you get to the checkpoint, there may or may not be tribe members present. If so, they may check your stuff out to ensure you aren’t bringing alcohol or any other prohibited items into their village. (Check out the list below to see prohibited items).
Prohibited Items for the Checkpoint
- Alcohol is NOT permitted.
- Littering is NOT permitted.
- Drones are NOT permitted.
- Campfires are NOT permitted.
- Diving/jumping is NOT permitted.
- Taking photos of Havasupai people or property is NOT permitted. Thank you for being respectful of the people who have opened up their canyon to outside visitors.
- Camping is NOT permitted anywhere other than in the actual Campground.
- The following are NOT permitted: alcohol, drugs, smoking, drones, amplified music, littering, nudity, jumping, diving, climbing, fishing, hunting, horses, dogs, pets, animals, wagons, carts, bikes, vehicles, fires, fireworks, firearms, weapons, water guns, boats, rafts, kayaks, paddle boards, inner tubes, pool floats, pool toys, styrofoam, filming or photography for commercial purposes, taking photos of Havasupai people or property, and anything else that may be hazardous or discourteous. Proper attire is required, please dress appropriately. Gas canister backpacking cooking stoves are ok, but all other types of flame/fire are NOT permitted.
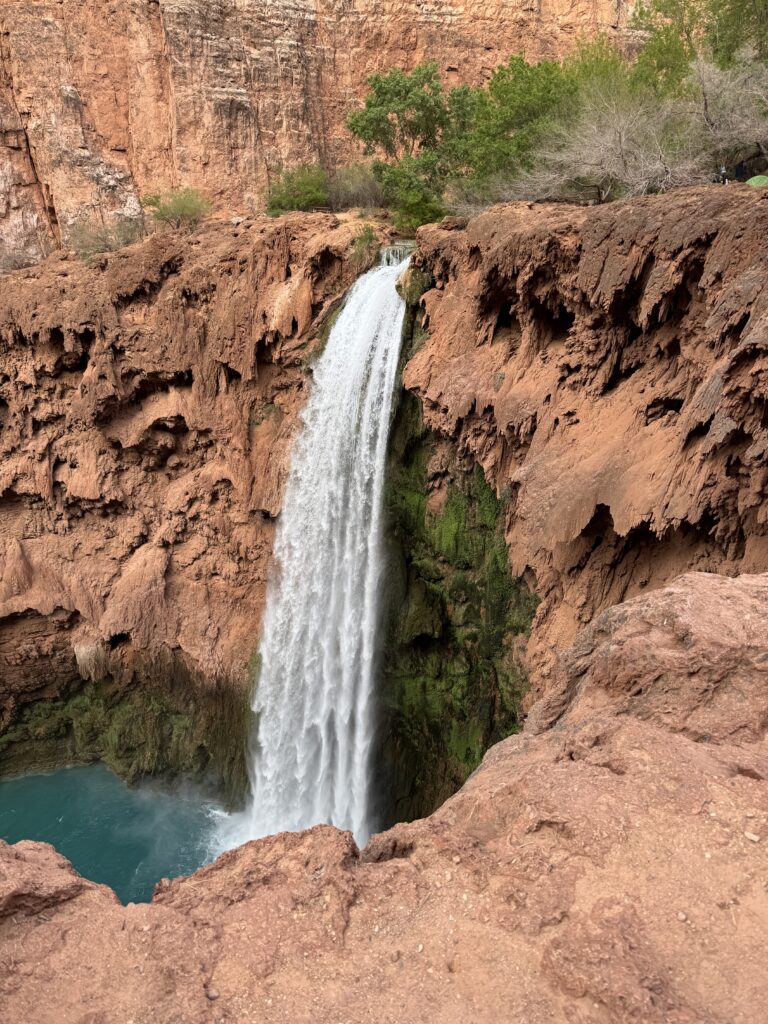
Honestly, even though I quit drinking almost a year ago, (yay!), I still would advise against anything hindering your ability to be totally present down there as it would take away from being immersed in the beauty and also would be quite dangerous traversing down into Mooney Falls!
Stay tuned for another post highlighting our time getting down into Mooney, it was epic and scary and amazing!
Trailhead Essentials: Parking Smart, Last Stop Bathrooms, and Prepping for the 12 Mile Trek
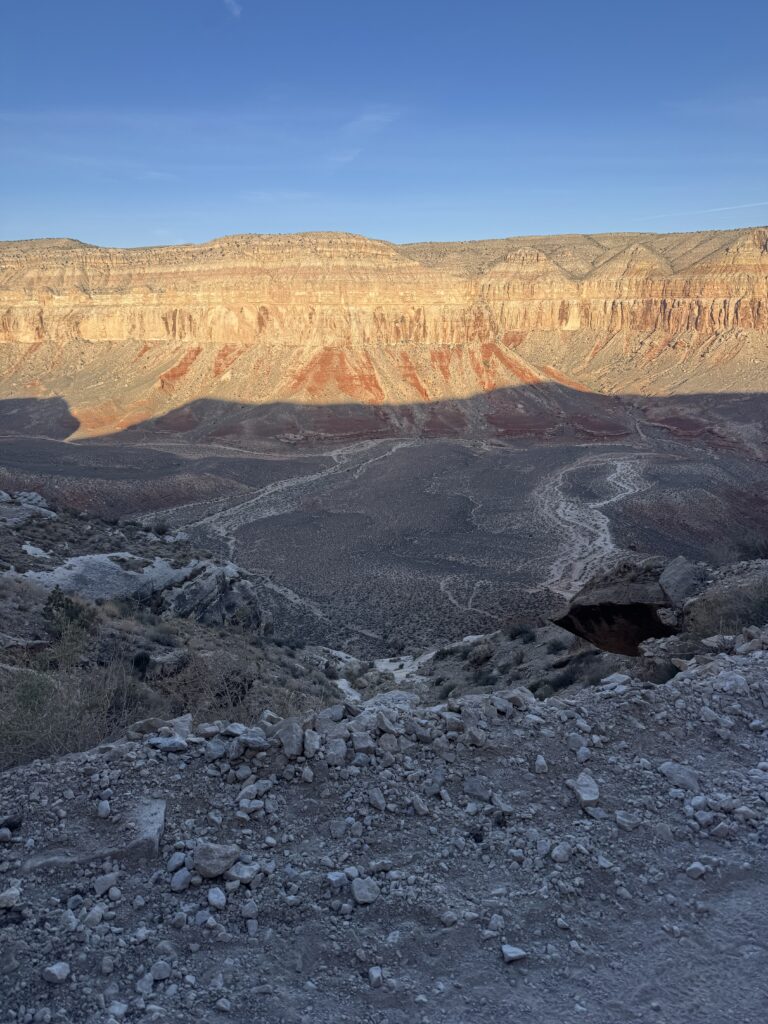
Now, once you’ve passed the checkpoint and gotten closer to the parking lot, you may notice a ton of vehicles parked alongside the cliff face. Please don’t opt for this if there are other options! Keep in mind you’ll be down in the canyon for about 4 days and many rocks can tumble down between then! There are also a lot of options to park on the other side or in the parking lot. It isn’t huge though, so as previously mentioned, make sure you’re starting early!
There are two bathrooms in the two different sections of the parking lot, which you should definitely consider using as they’re going to be your last spot to go before hitting the campground on the way to Havasupai Falls (which is about 12 miles away!) Plus, you’ll be drinking water along the way (I hope), and will need to start with an empty bladder just in case! If you absolutely have to go on the trail though, this pee cloth has been an actual life saver for me. Guys have it so much easier 😅 but ladies, these will be the best dollars you ever spend if you’re a regular camper or backpacker. For reals.
It’s microbial which allows it to be reusable! Sounds totally gross but actually worked wonders. I used it a handful of times once we were on the Confluence hike (post coming soon!) and while on the hike back out of the canyon as well. It went extremely well with my PeeSport bottle (which I got online before our Kauai trip!), especially when worrying if you have enough toilet paper on hand is an actual concern.
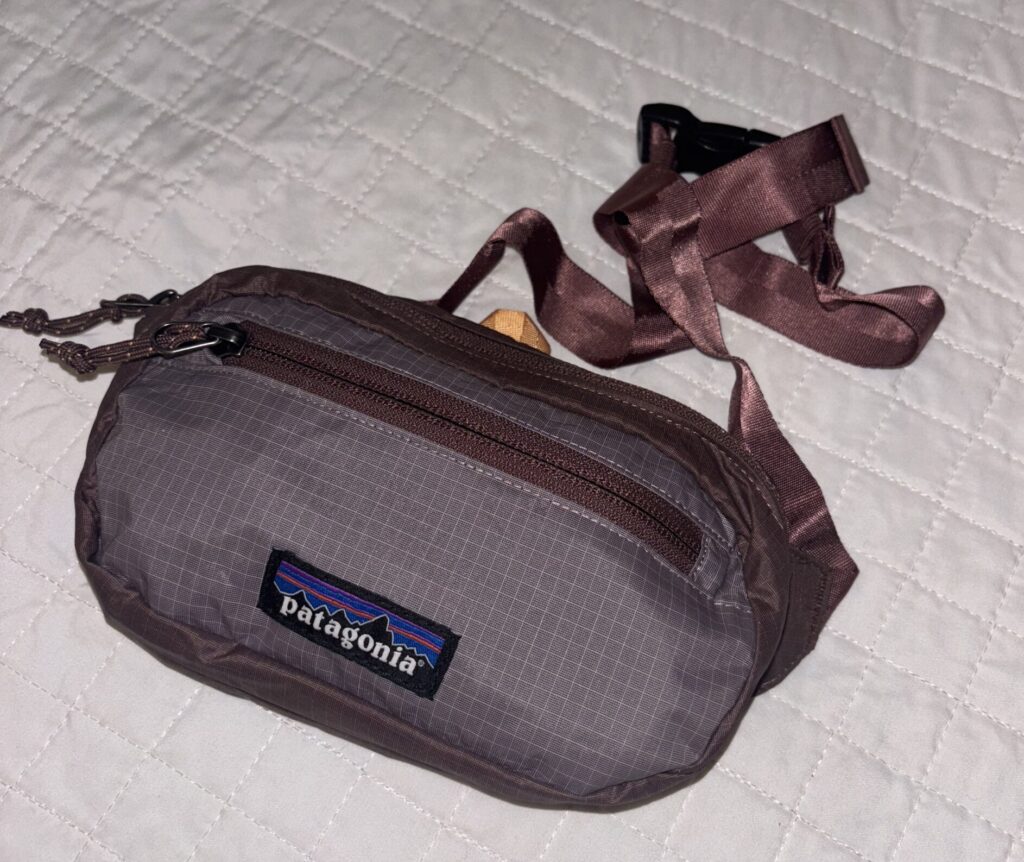
On any desert hike (like to Havasupai Falls), I highly recommend bringing *at least* a pack of each of the following…which I stowed in my handy-dandy new Patagonia waist pack (or fanny pack for us old peeps out here) that I got in the clearance bin at the Flagstaff REI! Score!
Be Sure to Bring These Essentials
- Salt Stick Tablets (like my fave Nuun Electrolyte Tablets but without the need to add water since you girl does NOT want to have to pee more than necessary)
- Stinger Energy Chews (for when you need that extra push before a big uphill grind or when you’re running low on fuel)
- Jolly Ranchers (to keep my mind off the long and slightly painful hike LOL…my favorite is grape)
I usually opt to wear a bandana and a braid nowadays, not just because it looks cute, but also because it serves an actual purpose of keeping my hair and sweat out of my face during sketchy parts of any hike. Totes recommend if you have long hair! I also bring a few extras which I tie on the outside of my pack (also cute), but great as well for switching them out when they get hella gross. (Which they most definitely will).
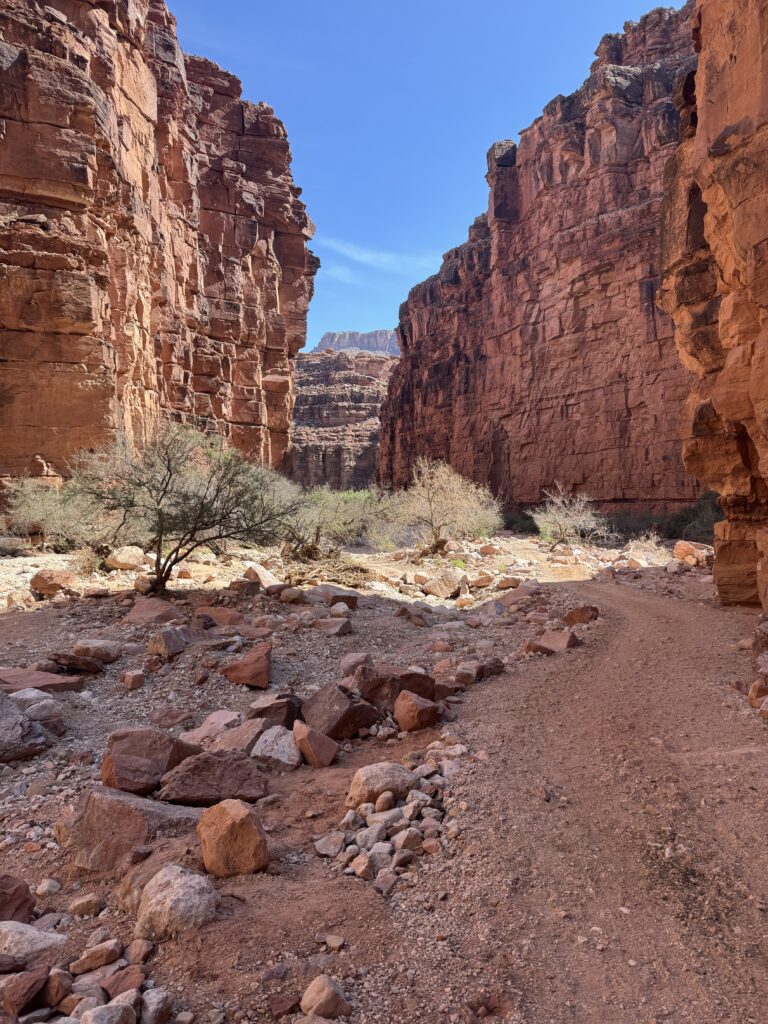
Once you get to the 8 mile point of the hike down in, you’ll come to a part of the dry creek bed that has a sign for the Supai village. You’ll need to turn left here (lots of trees on the left!), and then start your trek in more of the shaded part of the hike to the village about 3 miles away. (Keep in mind that everyone’s steps are different, so these mile marks are just approximates from our experience).
The Final Stretch to Supai Village and Where to Go for Havasupai Falls
You’ll cross a handful of bridges, not to mention see a bunch of herding dogs, mules, and trail crew along the trip. These guys are all on the entire trail carrying packs and village items so be sure to keep a lookout or an ear out for them heading your way so that you don’t get run over! Seriously, it’s a thing. I may or may not have almost gotten run over by a mule…(Please don’t take pictures of them! This is also forbidden.)
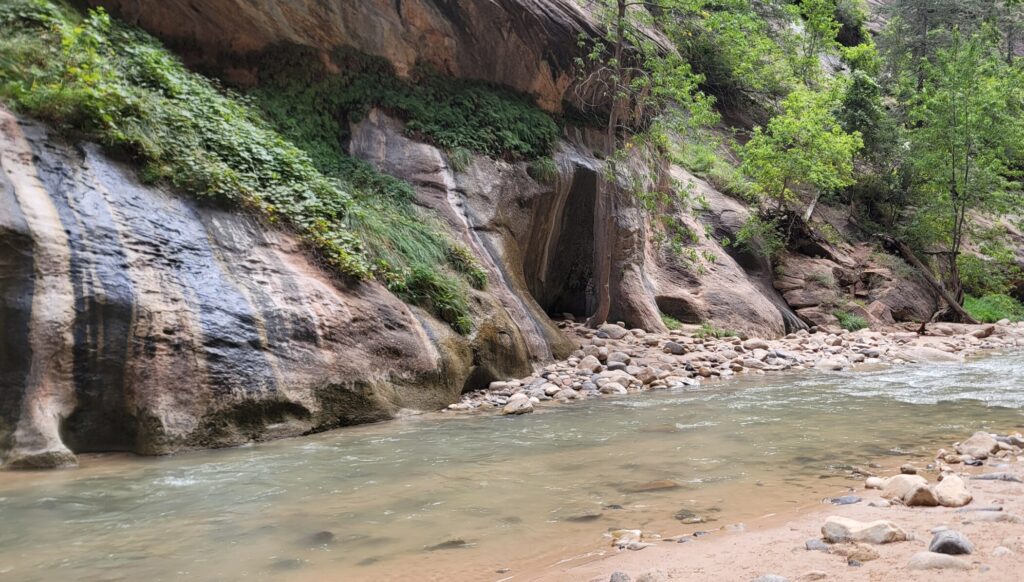
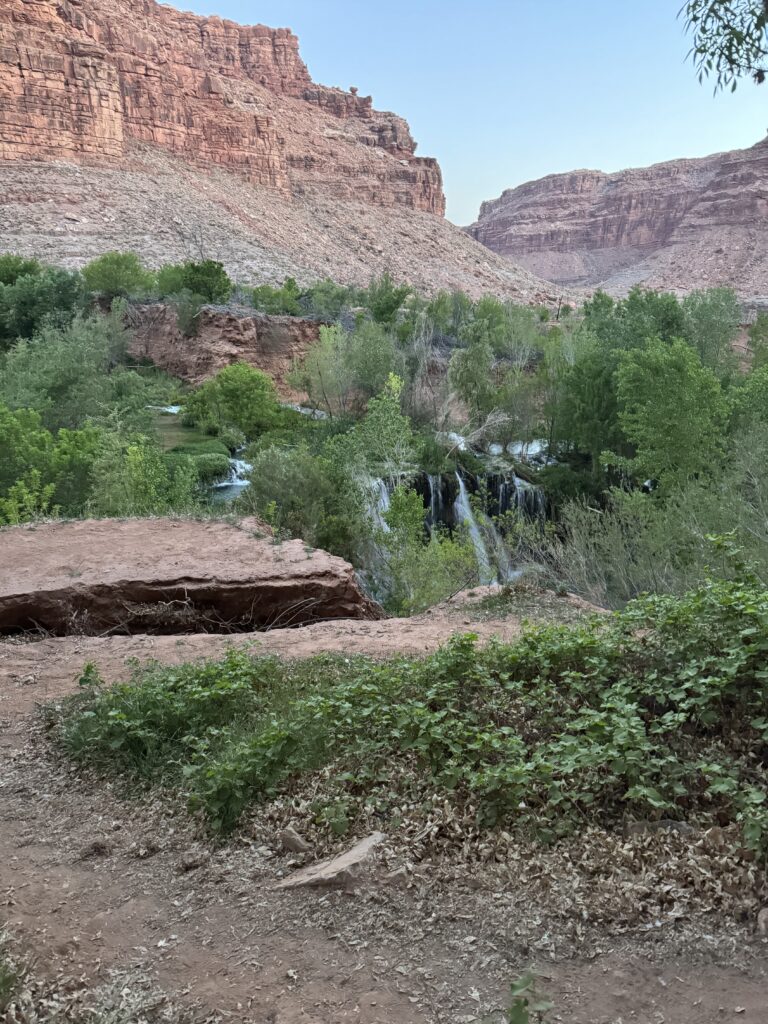
The bridges cross over the beautiful blue-green water that you’ll be lucky enough to spend the next few days enjoying. But just remember that when you get to the actual village you still have a ways before the campsite, including if you pick a further one like we did. Once we set up camp, we checked out some other options nearby, but came to the conclusion that ours was quite perfect as we had only one neighbor and no one across the trail! Most everywhere else had bridges to cross with your gear, or neighbors on both sides, or more neighbors across the trail on little islands. Ours was situated away from this all as well as a close walking distance to two nearby bathrooms.
What I Recommend at the Campsite
Please please please be sure to bring your own toilet paper! Check out a future post if you want to learn about our experience in Kauai where we completely ran out! Also make sure to pack out your trash and only put toilet paper into the composting toilets or they won’t be able to properly do their job. This includes feminine products as well, my friends!
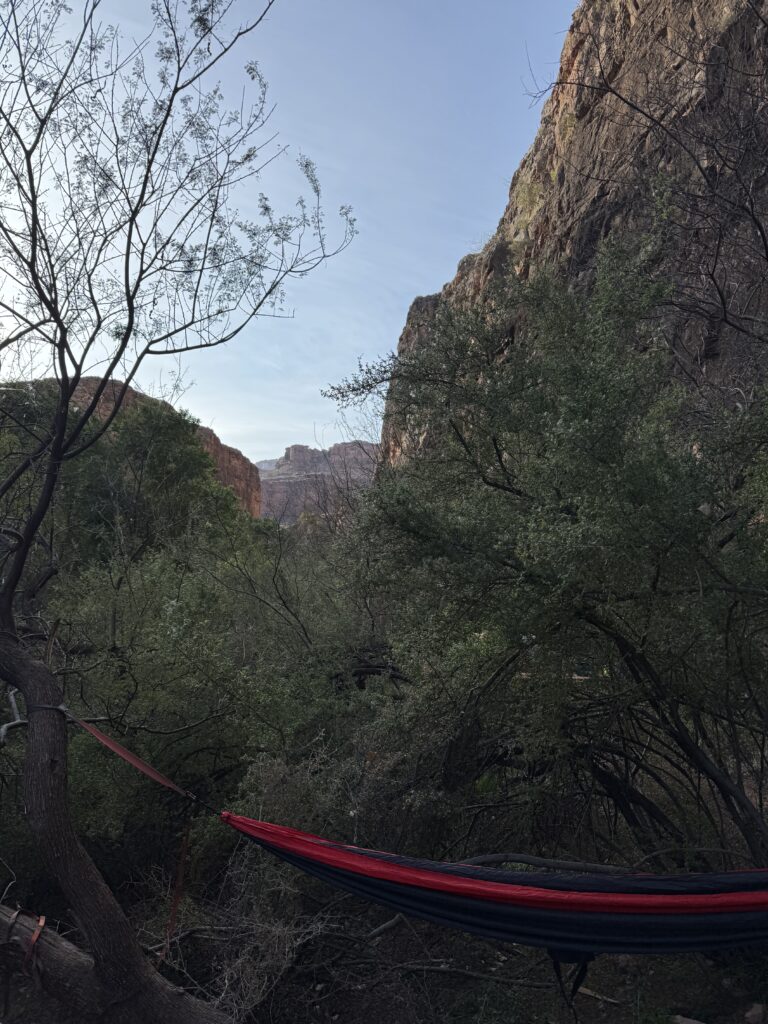
I’d recommend once finding a campsite that suits you and your party, that you set up everything first, then eat lunch, then go exploring. (Or just chill the rest of the day so that you can prep your body for the 16-mile round trip Confluence hike the next day!) One of the best parts in my opinion about our site was that it had trees so we could hang our hammock. We chose to bring just one to share, since we were working with already full packs and wanted to lessen the weight as much as possible. (Since our packs were heavy af, this was a stellar decision) 😅
Bring a good book, hang out by the creek or find a swimming hole, scope out Mooney Falls for the next days adventure, eat dinner (my personal fave is the Chicken Alfredo by Peak Refuel) and check into your sleeping bags early so you can head out right away for the all day hike there and back. If you’re into hearing more about this trip, there will be several more posts coming so be sure to subscribe so you can be alerted of when they drop! I’m so grateful that I get to experience this with you. <3
Thank you for reading and letting our journeys intertwine. See you soon!

Did You Enjoy “Our Epic Hike Into Havasupai Falls: What to Know Before You Go”?
Thank you so much for following along with the Havasupai Series! Like today’s, Our Epic Hike Into Havasupai Falls: What to Know Before You Go. It’s been one heck of an experience thus far and yet there is still so much to share. Guys, thank you so much for the support along this weird and winding journey and thank you for being an amazing part of my inspiration! <3