Hello friends! Sadly in this post we will be talking about the third and final full day at the Havasupai Campground. It was majestic, rejuvenating, and enlightening. I’ll share with you my favorite campsite location, where to find drinking water from a fresh local spring, and what I decided I will *not* be bringing with me next time on a multi-day backpacking hike! 🥵 This is your full guide: You’ll see photos from Beaver Falls and Havasu Falls…but not the local fry bread because your girl ate it ALL before remembering to snag you a pic! You’ll just have to grab some permits and go for yourself!
Why We Skipped Beaver Falls (And Saved The Best Day For Last)
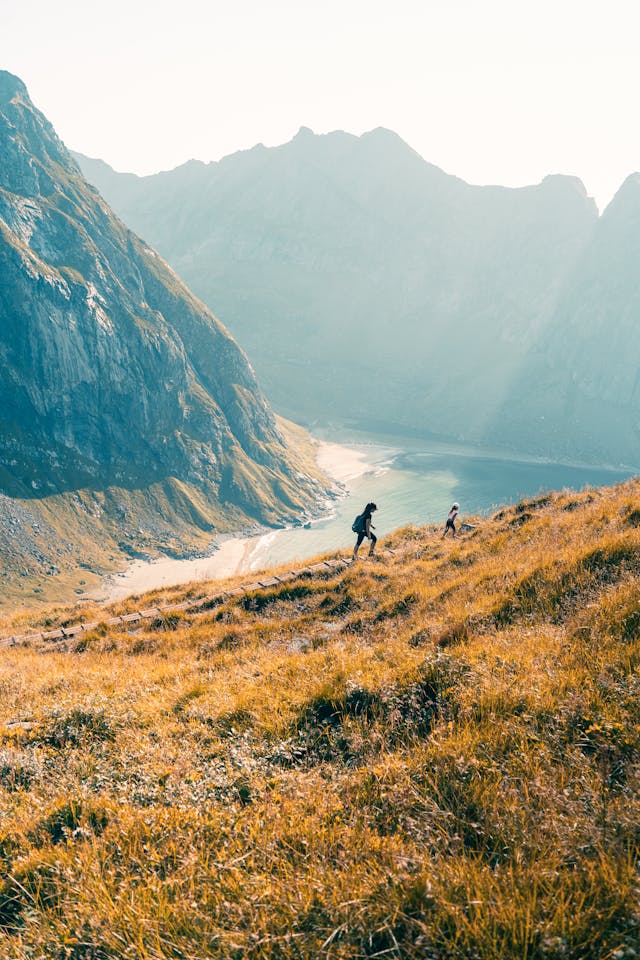
Hey! My name’s Shelby and I love to hike really epic places. The more remote, the more challenging, the more mental workload involved, the more I’m game. If you’re just joining me in this Havasupai Series, be sure to go backwards (and subscribe to find future posts!) to read all about our recent 9 day trip that was centered around the one and only, Havasupai Falls.
Thanks for being here, you awesome human you.
As the last post left off with us coming back to camp from the Confluence, I’ll share with you why we passed on Beaver Falls, and why we saved Havasu Falls for last.
Beaver Falls is revered as one of the most beautiful parts of this entire place. However, it is also on the way to the Confluence, and down the crazy steep incline of the well-known Mooney Falls. To get there, you’ll hike down the stairs with the chains beside the falls, and hike about 4 miles (each way) further into the rugged backcountry of the southwest side of the Grand Canyon.
Although we had full intentions of visiting Beaver Falls as more than passersby, we decided to continue hiking past it on the way to the Confluence. We didn’t know just how long getting to the end of that hike would be, so we wanted to be sure we wouldn’t take too much time stopping at all the sights along the way. We figured that we would hit it up on the way back, but once we returned to that point in the hike again, we were sore, exhausted, and nearly out of drinking water.
So, we continued on our trek back to Mooney Falls to climb the cliff face, and then onto our campsite not far from the top of the climb. We were lucky enough to go two different ways around Beaver Falls though! (Not on purpose, which is why I highly recommend pinning your location every so often to remember where to turn when you start getting more tired. Check out this previous post to learn how to drop a pin on your iPhone or Android).
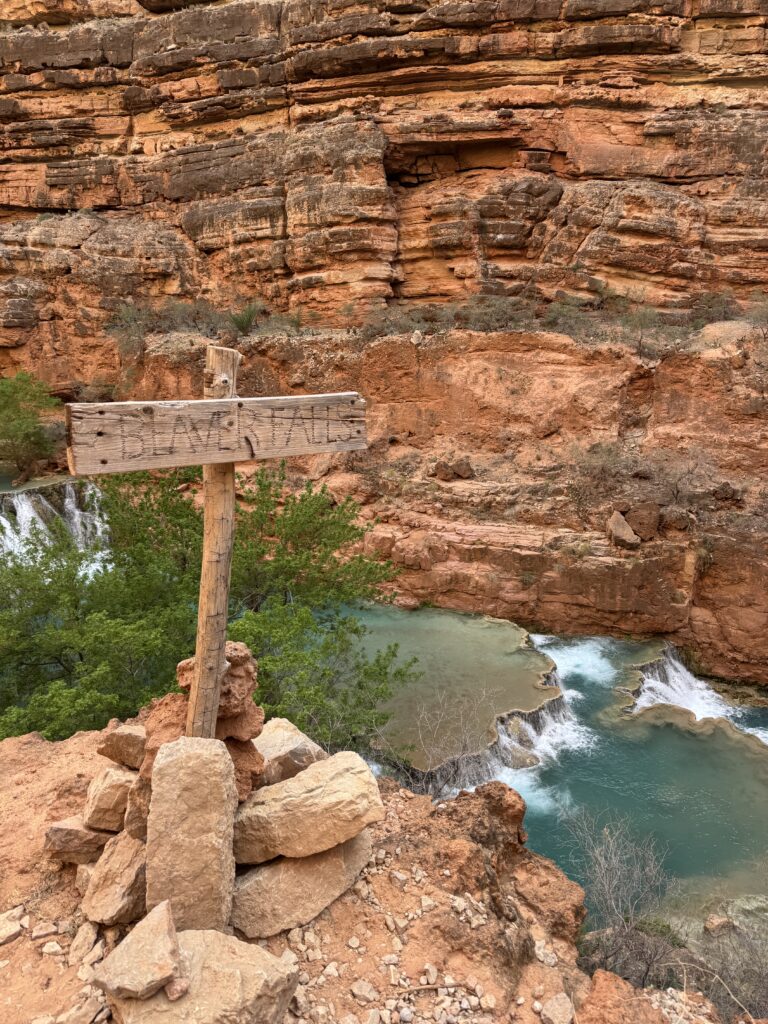
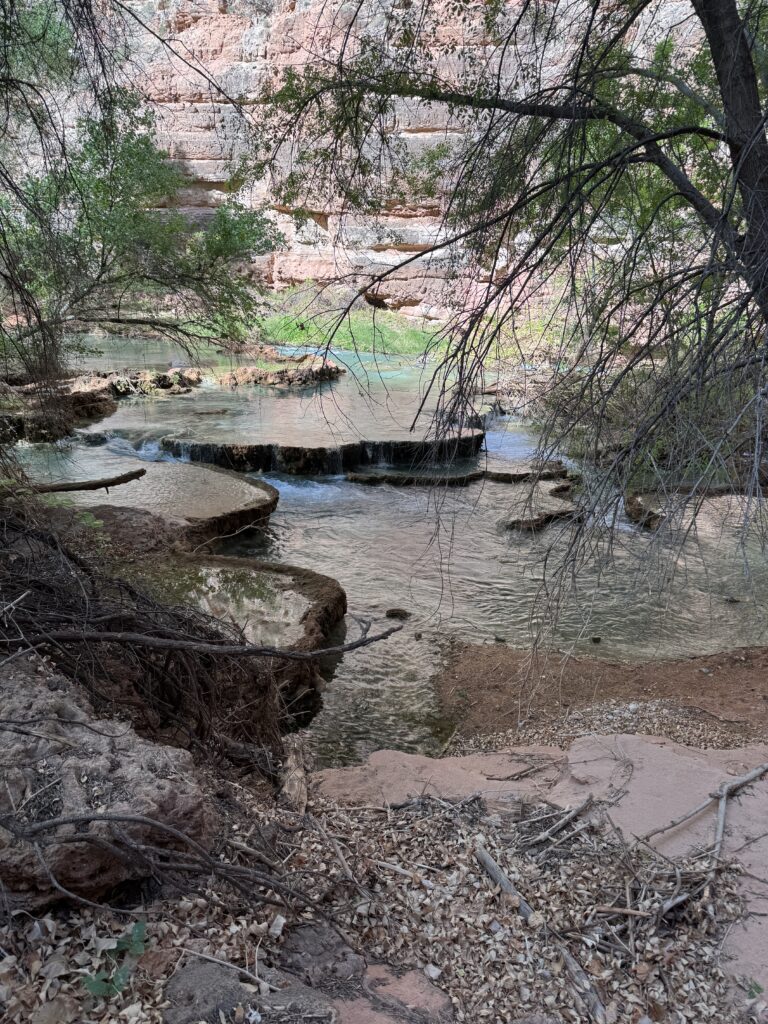
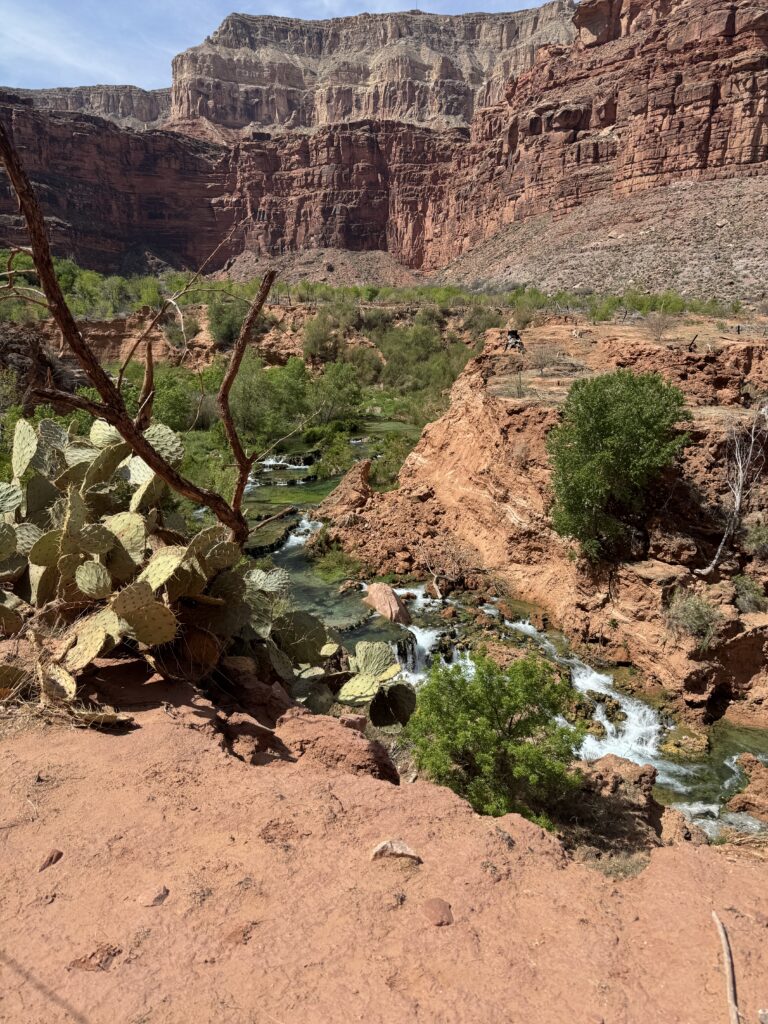
The first time we went past, we were looking down at Beaver Falls. It is SO much bigger in person and just as amazing as the pictures online make it seem. The hikers that stopped to chillax in them looked so tiny from where we were. They were waiting for the sunrise as it creeped along the blue-green water and down onto the next set of falls.
On the way back, we were down beside it, and realized that we were on the trail to Beaver Falls, not back to the campground! This is when we decided to snap a few pics, readjust our footing, and got back onto the correct path back home for the night. It really is a must-see in person to not underestimate its magnificent and one-of-a-kind beauty.
A Recovery Day at Havasu Falls Inside Havasupai
Once we got back to the campground that night, we heated up some meals, filled our water and turned in as soon as the sunlight was running out. When we got up to face Day number 3, I felt sad that we would be in the tent for only one more night, but relieved that we had gotten the bulk of the hiking out of the way and were able to spend the day at rest.
After some morning granola and coffee or tea, (Which do you prefer on the trail? Drop your favorite trail drinks in the comments or tag us in a pic on Instagram!), we packed up our Osprey Sportlite pack to head over to Havasu Falls.
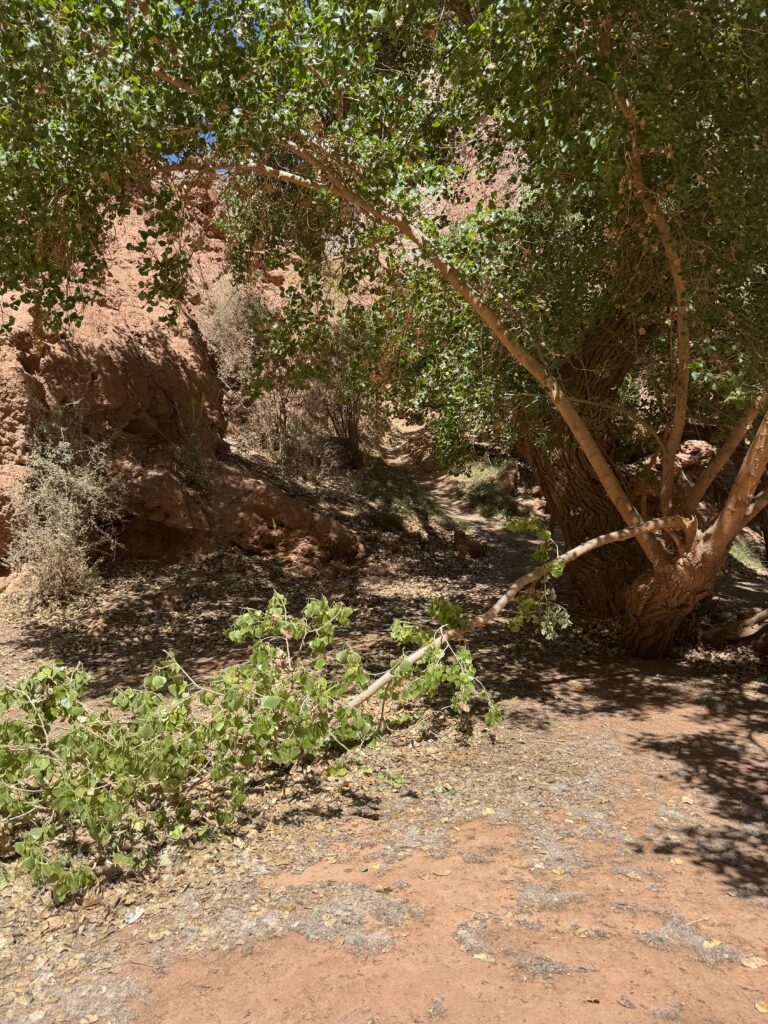
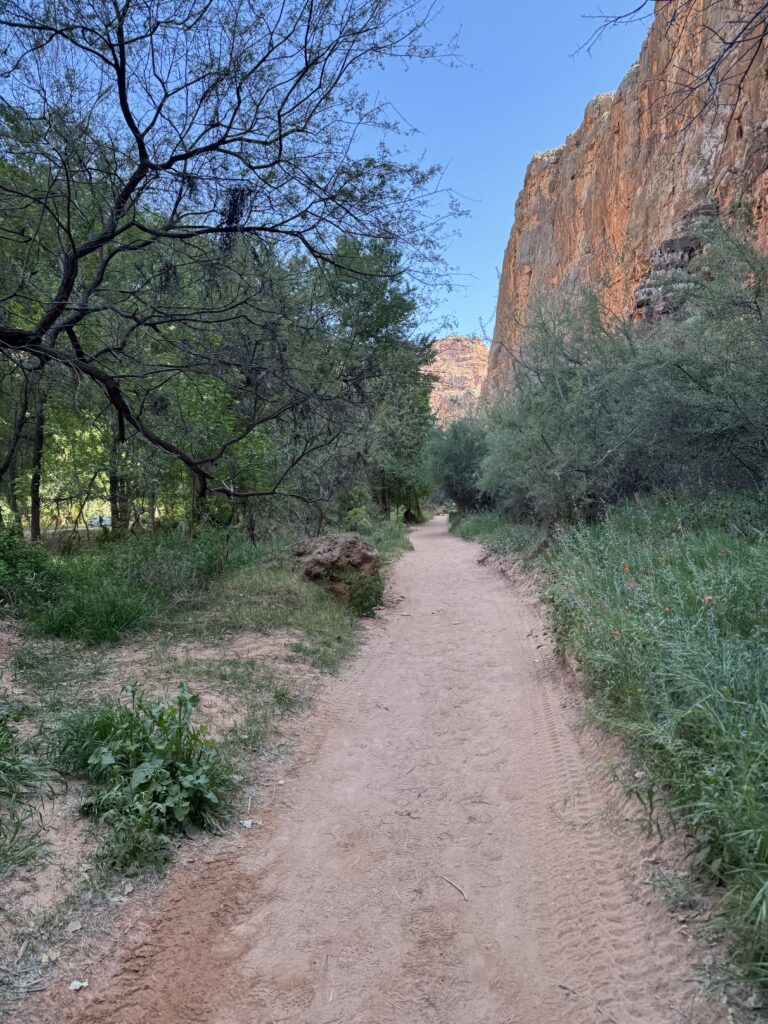
Since we were pretty far back in the campground, we had an “active recovery” hike as I like to refer to them as. Although I wouldn’t change where we were staying, it was a bit of a haul to get to the drinking water or to Havasu…or to the fry bread. Yum.
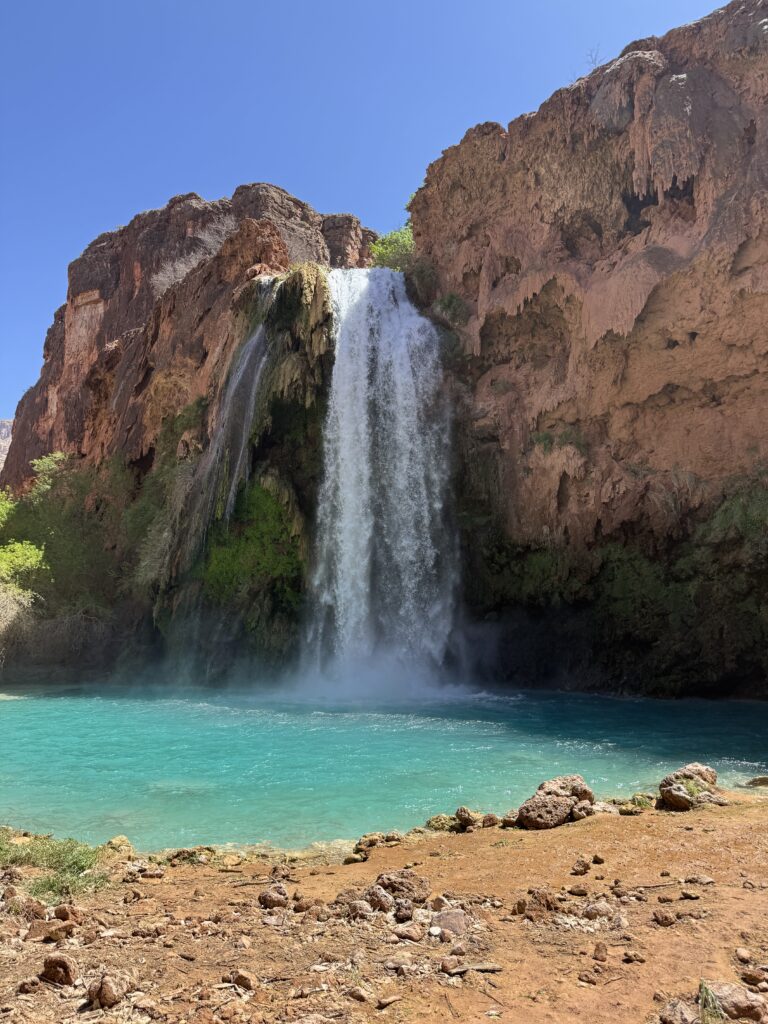
We hung around in the hammock napping and reading until about 10am when the sun was too much to bear, and then headed to Havasu where we enjoyed hanging out in front of its awesomeness until around 1 or 2. After that, it was getting busy, the sun was leaving the top of the canyon, and we were ready for lunch. We also wanted to start packing for the next morning, as we planned to get up early and beat the heat as much as possible.

Speaking of lunch, be sure to use this day to rehydrate and refuel with calories. As in, more than you think you need and way more water than you think you can drink. Of course there is the problem of drinking too much water, but at this point in the trip, you’ve been in the desert for a few days dehydrating yourself on hike after hike. Drink up, my friends!
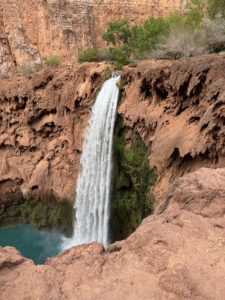
I really enjoyed reading and laying under the sun next to Havasu Falls, but I still have to say that Mooney Falls really has the more epic rock face around it and is so much bigger as well. They are all unique in their own ways, but Mooney is still my fave. I finished reading The Gracie Diet there, and picked back up on reading Spirit Babies. (What are your current reads?)
If you do end up getting in the water at Havasu, be prepared for a cold plunge! We read ahead of time that the water is usually around 70 degrees all year, but guys, this was COLD. Don’t feel pressured to get in or stay in long if you aren’t comfortable. Do what feels best, this is YOUR trip!
What to Pack (and What Not To) for Your Adventure
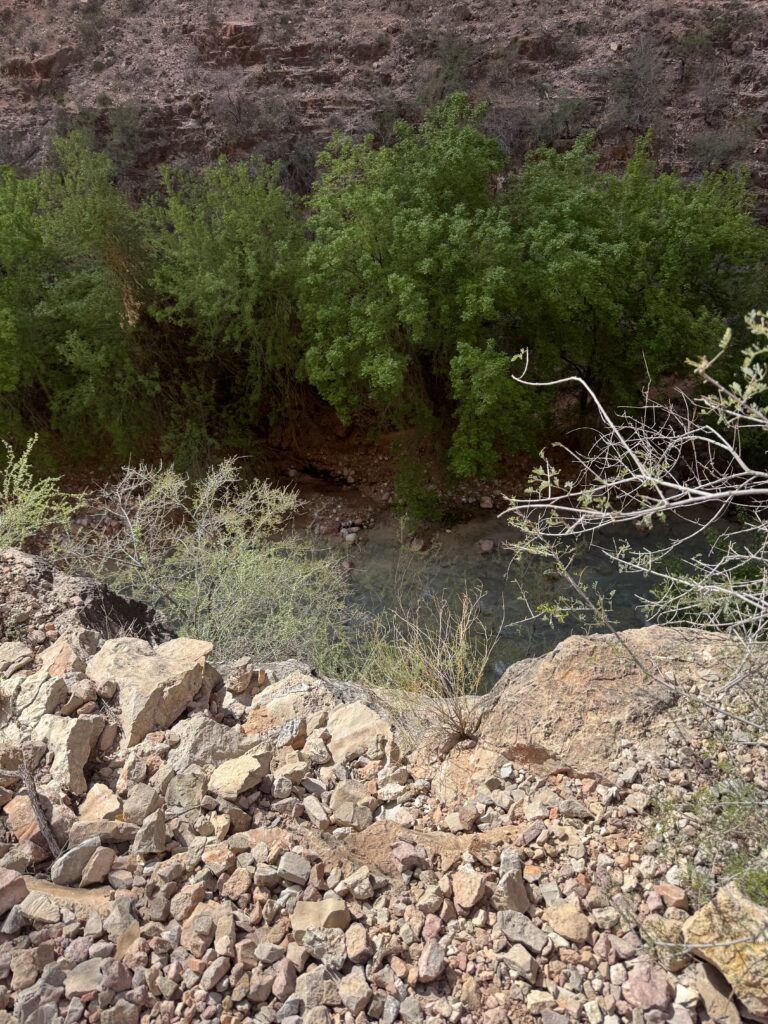
We napped and sat by the creek again when we got back to the campsite, but then made headway on our packing before the sun set too much. After realizing that we *yet again* brought too many clothes, I made a mental note of what I will NOT be packing for a backpacking trip again…SO!
Here is a list of the clothing that I would consider ESSENTIAL:
- 1 (count em, ONE) pair of “chill pants”
- ONE pair of comfy shorts
- ONE pair of athletic/active shorts
- 1 pair of pants that will double as cold weather hiking pants or sweatpants for cold nights
- 1 pair of regular hiking pants
- 1 “chill” t-shirt
- 1 long sleeve
- 1 jacket (lightweight OBVS, packable if possible, and rain & wind resistant of course) My favorite is this Patagonia!
- 1 tank top
- 1 sports bra
- 1 swimsuit (OR you could choose a sports bra and pair of shorts that could double as your swimsuit! Win, win!)
- 1 pair of sandals (These Birkenstocks were great, but I wish I’d have broken them in before the trip. The hubs had Tevas and not only did the velcro hold up much better in the creek crossings, but they also didn’t give him blisters!)
- 1 pair of hiking boots or trail runners (I just upgraded from the 5’s to the Salomon Speedcross 6’s, and they are still *by far* my absolute favorite pair of hiking shoes or ALL shoes for that matter!)
Things that I probably shouldn’t have brought because they’re a bit bougie but would bring again anyway because I’m stubborn and like to look cute:
- Boho jewelry to match my desert aesthetic and chill vibes of course
- Ranger Dark Chocolate Covered Cherries…nearly a pound of them. 🤓
- TWO books to read, because I can never actually decide which one I like until I’m in the mood for one
- Snacks. So many snacks. In our previous backpacking adventures, I would have to ration these in the fear of running out. I like food too much to worry about that again, so I suffered the extra weight and DID NOT regret a single thing.
- Extra meals. We only had about 3 total leftover, but I am happy to have brought them and not worry about being hungry on the way back out of the canyon.
- Way too many bandanas…here’s a cute one I actually think I’m going to order right meow. Even though I could have one hundred percent used just one the whole time and washed it off in the creek, it was way more fun to plan which one to wear and which one to attach to my backpack each day. 🤷♀️ (I had three, plus a cooling cloth to give you an idea. One for each day!)
Now, do you actually needdd all of these things? Absolutely not. But they’re fun to have if you don’t mind carrying the extra weight, and still give me some sense of normalcy when things I crave hot chocolate at night or want an extra handful of jolly ranchers on the way.
Judge, if you will. But I was a happy camper nonetheless…see what I did there.
Campsite Hacks and Final Tips for a Smooth Havasupai Stay
So, as you plan your Havasupai trip, (which you should totally be doing right now), make sure to not overpack, consider splurging on a handful of ultralight clothes and backpacking essentials, and use this pee cloth instead of packing like, 10 rolls of toilet paper like we did.
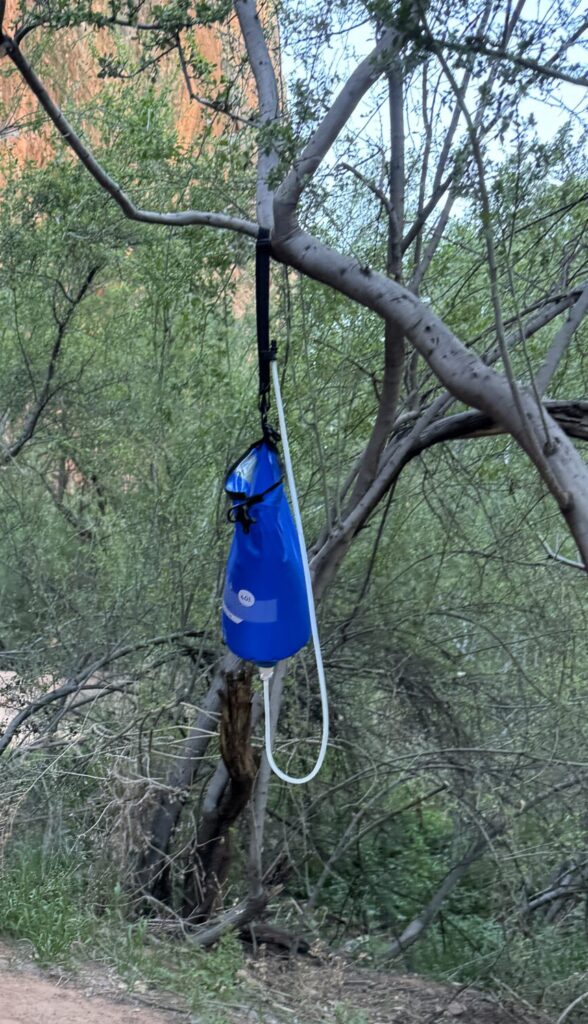
Get anywhere you want to go like, EARLY. I wouldn’t consider it “Disneyland busy,” but it was full of a lot of groups and families that kept the entire place a little crowded and loud most of the time. If you want to fill your water, please bring a larger water bag than just one water bottle. We saw so many people that had just one with them which required them to visit the spring an enormous amount of times compared to our few.
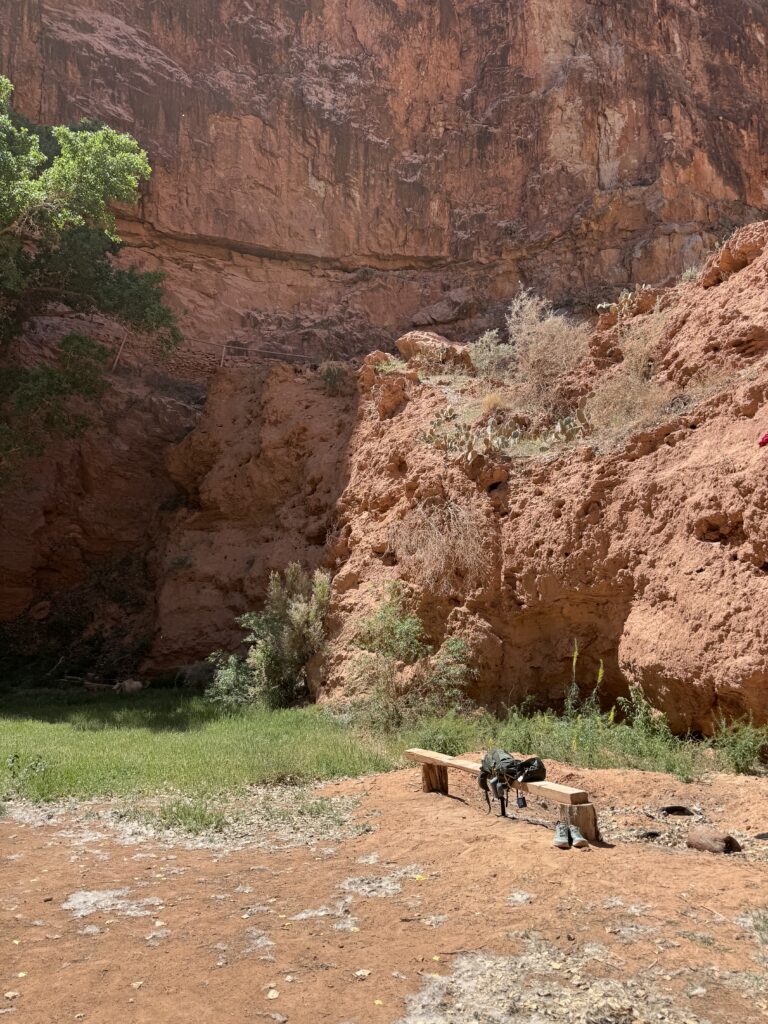
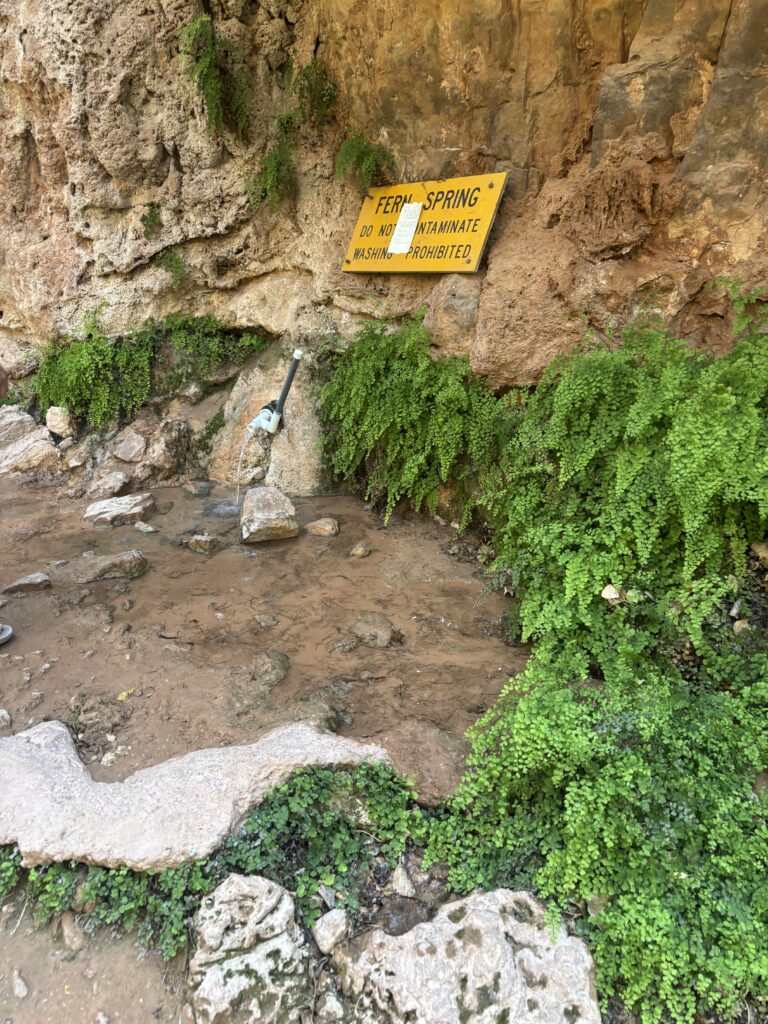
Also, don’t forget to pack a filter system. We had this little Sawyer squeeze filter for the day hikes, but also a 6 liter gravity filter that allowed us to save a ton of steps back and forth to the drinking water. (Which you can find on the left side of the campground walking in, past the stand of extra fuel canisters, the local horses and the first set of bathrooms…I believe we counted 3 or 4 bathrooms in total).
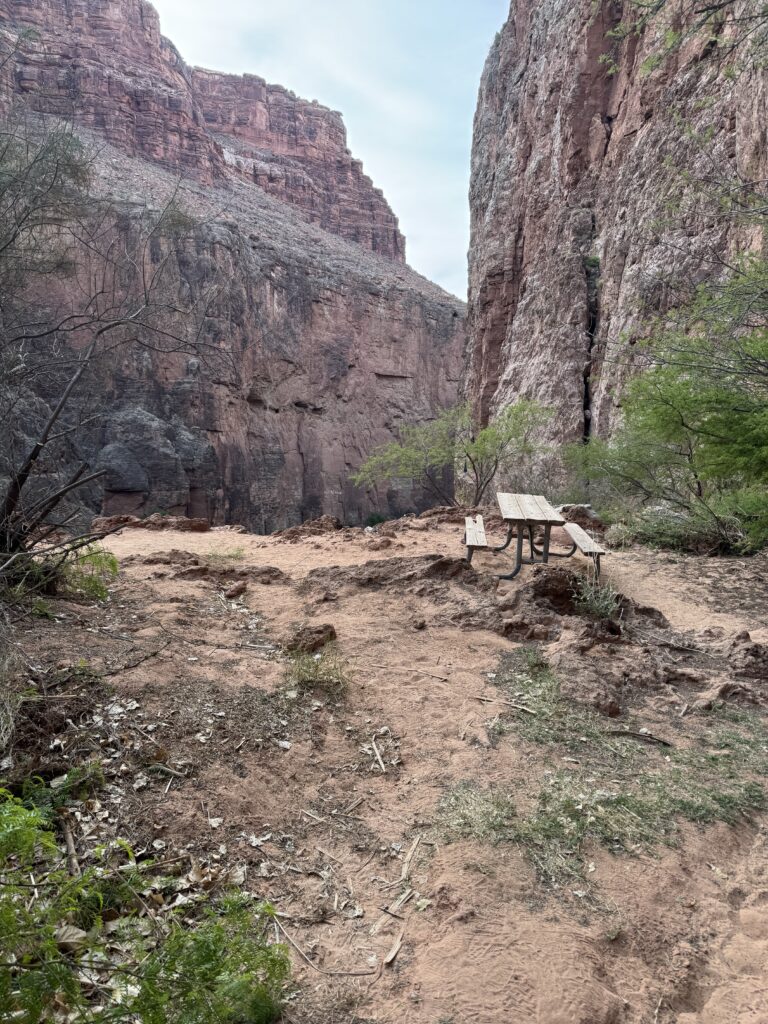
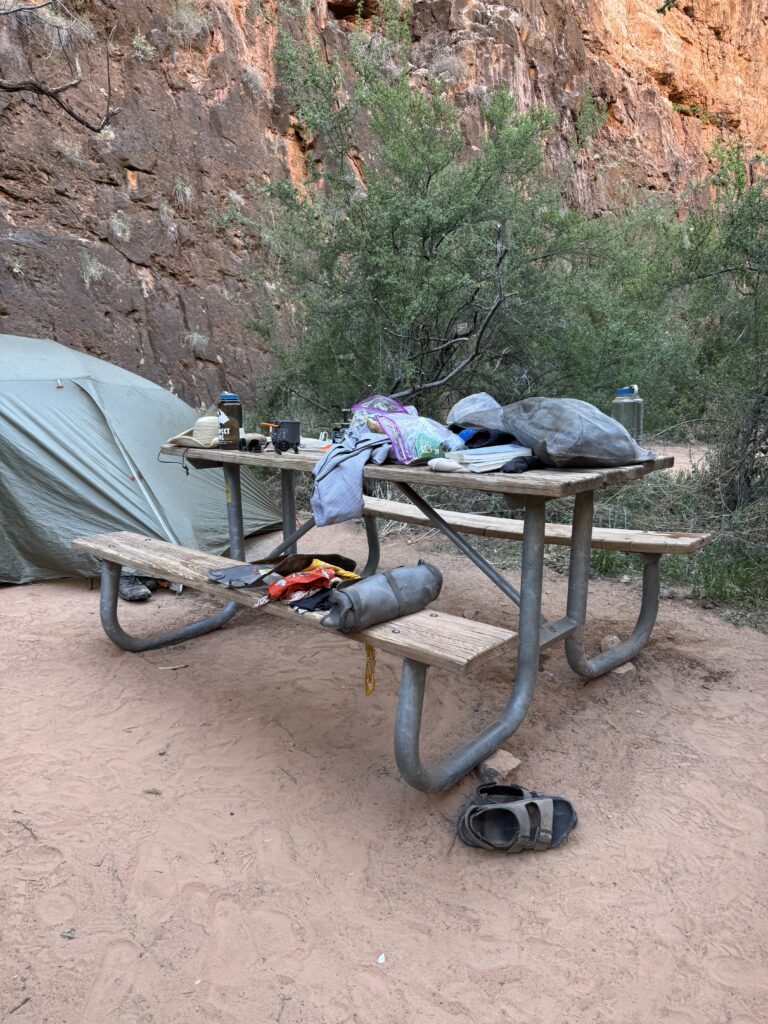
Our campsite was by far my favorite, it allowed us to access it easily, as well as two different nearby bathrooms and each of the sights weren’t far either. The furthest thing we went to in the campground was to purchase some local fry bread, which was actually right outside of it on top of Havasu Falls (on the right if you’re heading up the hill in a little pop-up tent. They also have soda available, hot dogs, and a few other staples that you can choose from. The plain with powdered sugar fry bread was my overall favorite since it tasted just like a funnel cake from home!)
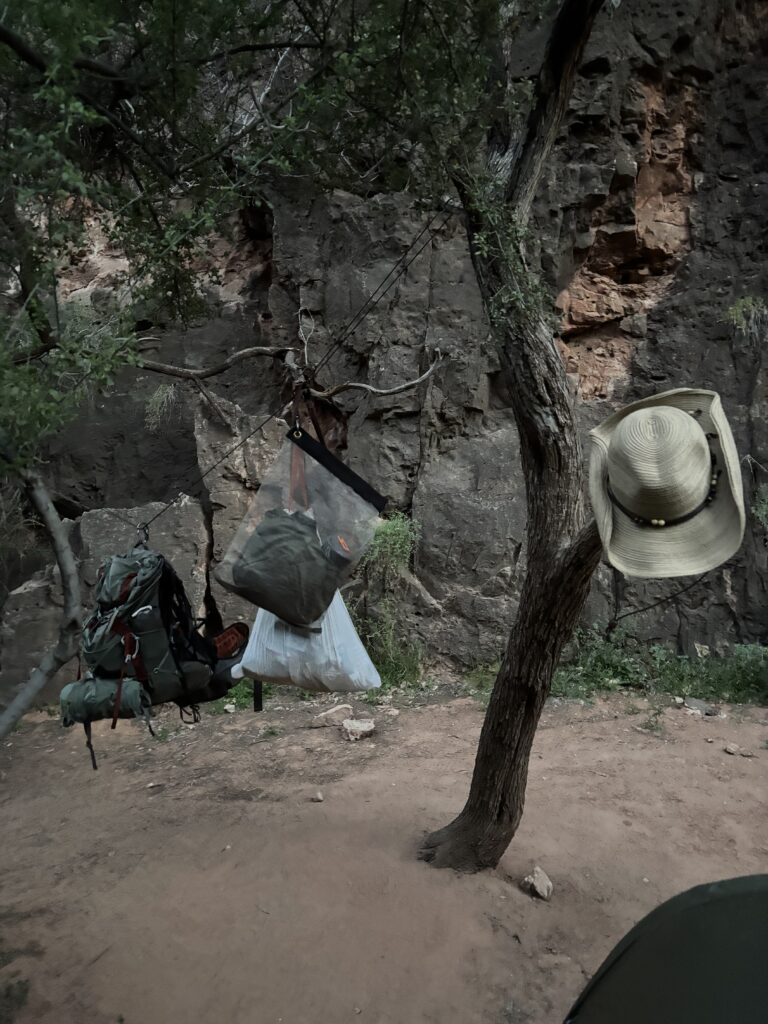
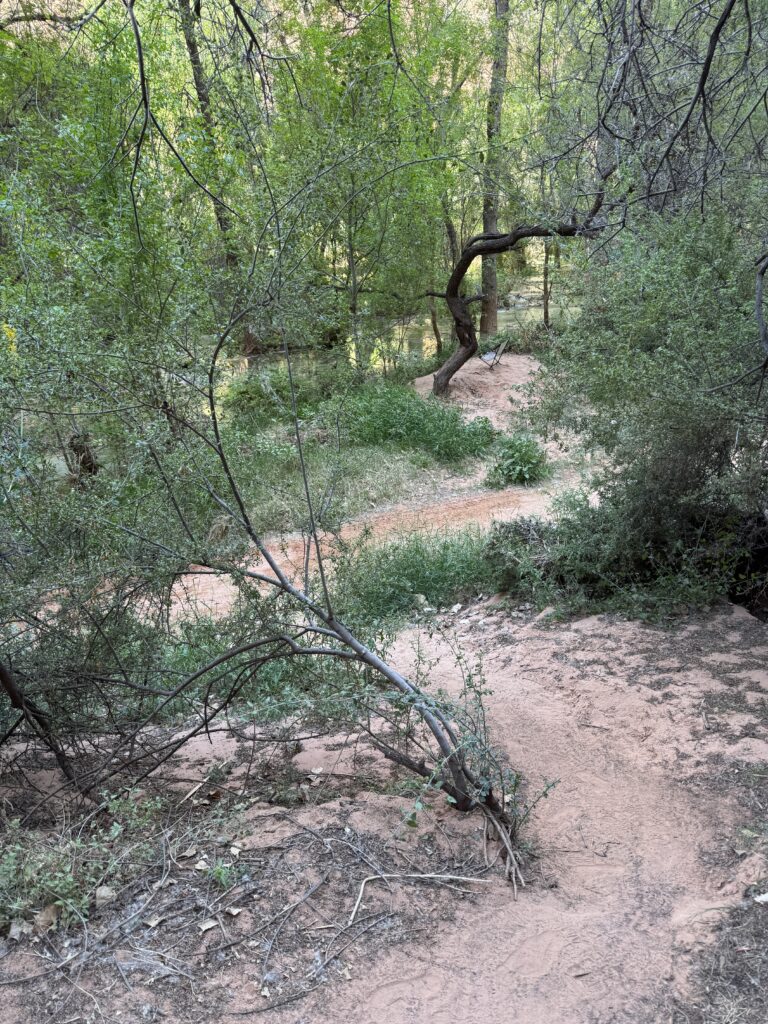
The campsite we chose was past two bathrooms, on a straight facing trail and up a little to the left. The creek was on the right across the trail so we could easily access it, and although we had neighbors on both sides, they were shaded with some brush so we couldn’t see them as plainly as some of the other campsites that had no trees or shrubbery around them. We didn’t have to worry about dropping anything in the creek crossing makeshift bridges, or not having a tree around to hang our hammock from. It was next to a rock wall but not close enough that made us concerned about rocks falling on our tent at night…gulp.
Don’t forget to get to sleep early (the bats come out around 5 or 6pm if you want to check them out before turning in!), and get everything that you can prepped so you can just wake up and leave right away the next morning. Speaking of the next morning, we will cover all there is to talk about in the upcoming post for the hike back out, including the stops we made, what time we left, and the last final grueling push up the last 2 miles of trail. Oh! And our brief time in Sedona that did NOT wow us. Sad face. 🙁
Thank you for continuing to read all about the Havasupai Series! Talk to you in a few days! <3
Thank You for Reading “Our Third and Final Full Day At Havasupai Campground: Visiting Havasu Falls and Beaver Falls”!
Thanks so much for hiking along with me through this unforgettable Havasupai adventure. Until next time—stay wild, stay curious, and keep exploring!

One Response
Your point of view caught my eye and was very interesting. Thanks. I have a question for you.